Installing ToolHound 6 On-Premise
![]() Updated
by
Cheryl Wallace
Updated
by
Cheryl Wallace
- Download the installer file (ToolHound 6 Installer.exe) from the link provided to you by email.
- Run ToolHound 6 Installer.exe on the designated application server.
- Select the installation path to install the ToolHound 6 software. A default installation path is provided. Modify this path if required.
- Click the checkbox to agree to the license terms and conditions. Click Next.
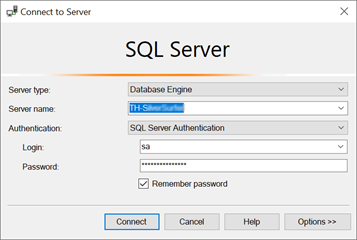
- Enter the complete SQL connection string to connect to the designated SQL Server to be used with ToolHound 6.
- Example for default SQL instance:
- Server=[COMPUTER_NAME]; User ID=[USER_NAME]; Password=[PASSWORD]
- Example for named SQL instance:
- Server=[COMPUTER_NAME]\\[INSTANCE_NAME];User Id=[USER_NAME];Password=[PASSWORD]
- Example for Windows Authentication:
- Server=[COMPUTER_NAME]; Trusted_Connection=True
- Click Next.
- Enter the Website hostname or IP address. Enter the Port only if not using the default port 80. This will be the URL/address the user will use to access the ToolHound 6 web site. See the examples below for hostname.
- http://192.168.1.210
- https://www.myserver.com
- Click Next.
- Click Finish when the installation is completed.
Testing the install
Confirm that you have completed the installation successfully by entering the host name and the port number into your browser address bar. If successful, the TH6 log in page should appear.
If you make a mistake in Steps 5 or 7 or change your mind after install, you can manually edit the appsettings.json file located in the installation folder selected in Step 3. Change the ToolHoundConnection or the Url section as required. If you configure your website for SSL, you should configure the Url appropriately.
"ConnectionStrings": {"ToolHoundConnection": "Server=[COMPUTER_NAME]\\[INSTANCE_NAME];User Id=[USER_NAME];Password=[PASSWORD]"},
"Url": {"ToolHound6.Api": "http://[FULL_URL]:[PORT]/"},
See also
- Installing ToolHound 6 On-Premise as an Azure App Service
- Installing ToolHound 6 On-Premise using Windows Authentication
- Troubleshooting the Installation
- Registering the ToolHound 6 Database
- Upgrading from ToolHound 5
- Configuring Email
- Configuring Background Notification Frequency - On-Premise only
- Configuring the Background Notification Database List - On-Premise only
- Enabling Scheduled Reports - On-Premise only
- Configuring the Scheduled Reports Database List - On-Premise only
- Configuring Single Sign On (SSO) - On Premise Only
- Configuring Passkeys - On Premise Only
Copyright © 2020-2026 ToolHound Inc. All Rights Reserved.